Pop Smoke

These are the best smoke grenades that you can buy without a fireworks license. I have a bunch of them. I popped one off in front of the house, and you couldn’t see a thing along the entire street. I couldn’t even see the house across the street. My neighbor down the road was pissed because the thought a house was on fire. Dumbass should have known that bright red smoke wasn’t from a fire.

Anyway, these things are awesome.

As usual, when I recommend a product or vendor, I will remind everyone that I receive no compensation for any of the products mentioned on this page, and that I have no relationship with the vendor other than being a customer. All prices paid are the same available to anyone else in the public.

Gaston Update

As regular readers know, I recently completed project Gaston– an 80 percent Glock compatible pistol frame. Today was the day that I finally got to take it out to turn some money into noise.

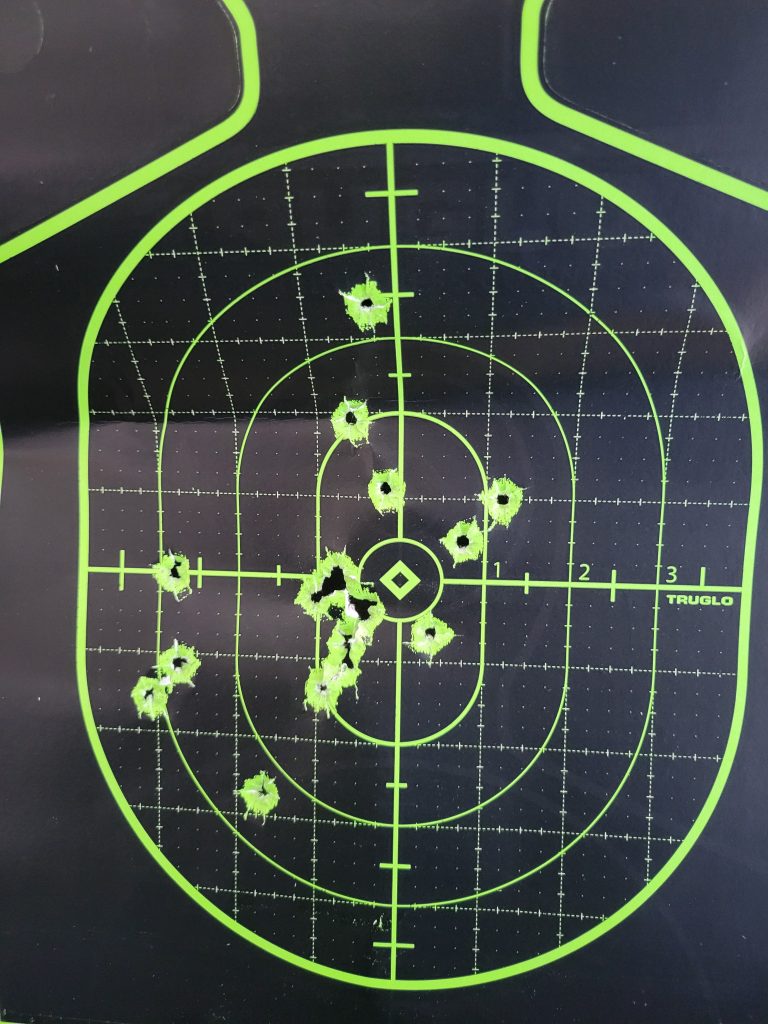
I got to put a single magazine through it. Accuracy was fine. Here is the target from 10 yards, rapid fire.

The problem was reliability. Out of 16 rounds, there was one stove pipe, three failures to feed, one round with a dented primer but no PEW!, and one where the fire control group didn’t reset.

I didn’t even get a chance to troubleshoot before the RSO came over and forced me to stop shooting because my ammo was steel cased.

I am wondering if the problems were caused by too heavy of a recoil spring. The slide is a lightweight one, and perhaps changing out the standard 15 pound spring with a 13 pound one will work.

In the meantime, I need to buy some brass cased ammo and save the steel cased stuff for the outdoor range. More on this later.

Completing Gaston

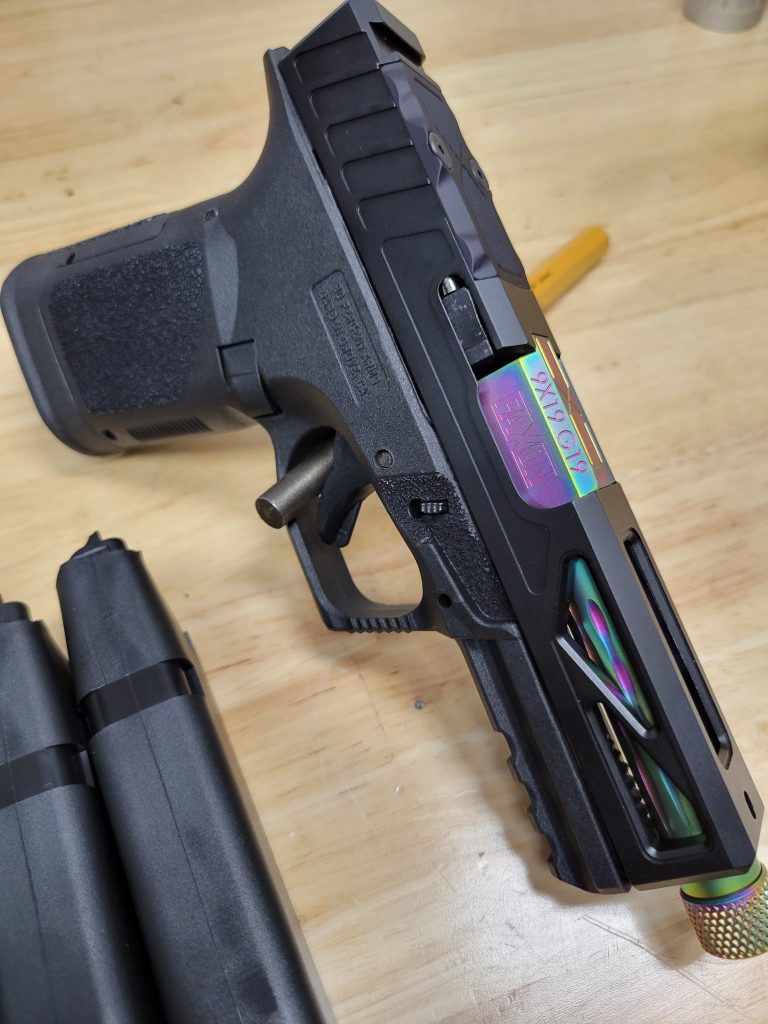
I had a lot going on this week, but managed to get in a bit of shop time. I used it to get the slide for project Gaston finished.

I used this slide from Ninex19 at a cost of $320, a Glock 19 slide parts kit from Brownell’s ($50), and a Faxon barrel ($210). That makes the total for the upper half $580.

Assembly was easy. I used this video as a guide:

It isn’t the best video, but it got the job done. One thing I wanted to note: the slide came with a brass striker channel, and I used that one instead of the one that came the parts kit.

All I need to do is set the TFO sights on the pistol and it’s done. I think it looks good, but it will be a week or so before I get a chance to test it at the range.

The total cost was $790 plus the $95 for the sights- a total cost of $885, or $45 over budget. A bit more than a factory G19, but I get the extended barrel and the RMR cut. Plus it looks great.

Building Gaston

Before I began on this build, I wanted to review the Glock trigger system, just to be sure I was familiar with what I would be building. So here is a video that explains the Glock trigger pretty clearly. If you are going to build a Glock, this is a good place to start.

On opening the kit, I read through the instructions to make sure I had no questions, then I went in search of the instructional video. This was the best one that I could find:

https://www.youtube.com/watch?v=zN_fYqlLFnA

The frame itself requires less than 10 minutes worth of work to be ready for assembly. I didn’t use a had drill. I have a drill press, and feel a lot more comfortable about drilling something like this with a press than I do with a hand drill.

When you need to remove the tabs, it’s easier to remove them before you put the frame in the jig. Make the cuts with hand cutters (I used a set of dykes and a pair of end cutters) then put the frame in the jig and smooth out the cuts with a hand file. I used a flat file with fine teeth, then polished it a bit with some fine grit sandpaper. It looks pretty good.

In all, the machine work took less than 20 minutes. It was MUCH less difficult and involved than doing an AR lower.

When it came to installing the parts kit, I hit a little bit of a snag. There were no parts kits available at 80percent.com, so I took a chance and ordered a PATMOS compact lower parts kit from Right to Bear. Cost $60

Because of that, the video from 80percent may not be as complete as you would like, but it is still a big help. I was worried that parts from two different suppliers would be a problem, but it turns out that it isn’t.

https://www.youtube.com/watch?v=PY_8eaw4Ock&t=69s

The only real snag here was in getting the pins in. A couple of tips: It was MUCH easier to insert a punch through the frame, trigger, and slide release from the left side of the frame, then insert the pivot pin from the right side of the frame. Using the punch as a slave pin and gently tapping the pivot pin with a non-marring hammer from the left was the easiest way to do it.

Another difference was the Mod 1 rear slide rails that come with the frame were not one piece like in the videos. They are two separate pieces. I simply put them in place after the trigger assembly went in. Other than that, the entire assembly went together in less than 30 minutes. In all, completing the frame took less than an hour.

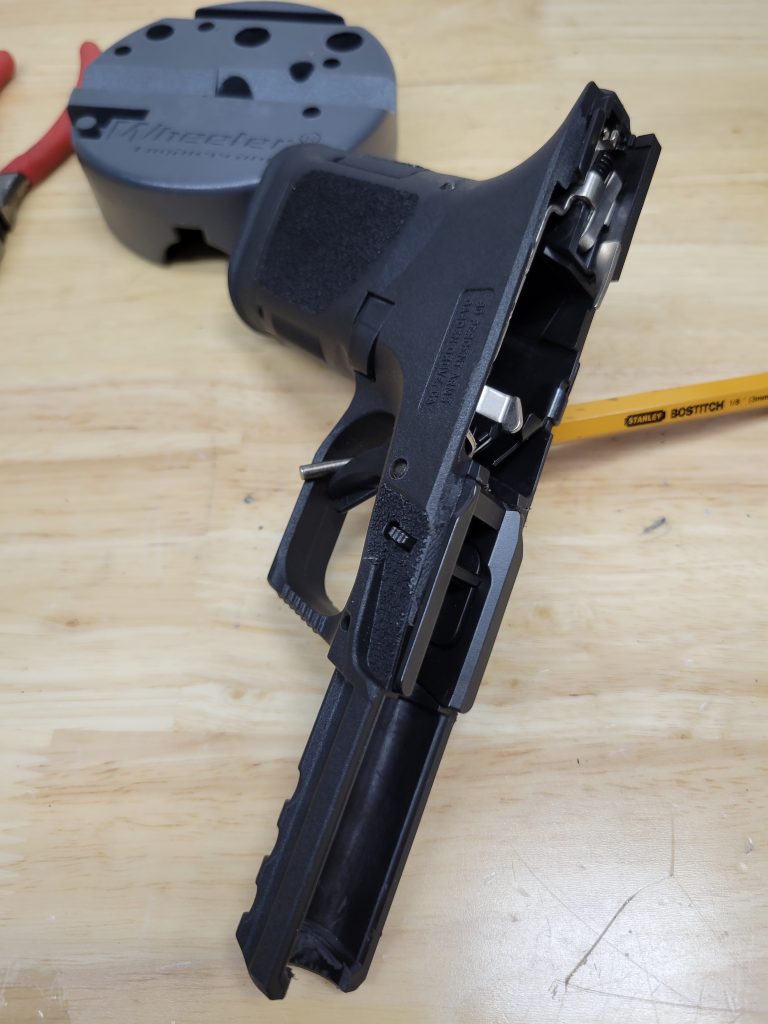
If you look closely at the picture below, you will see that I still haven’t cleaned up the burrs from the removal of the cross frame member. I am holding off on that until it is time to fit the barrel and slide. I will clean that up and smooth things out with a Dremel and a fine round file when I go to fit all of that together.

Here is a second video that may help you with the assembly.

So far, the cost of this build has been the frame at $150, plus the lower parts kit at $60, for a total cost for the assembled frame of $210. I have $640 remaining in the budget for this build.

As usual, I will remind everyone that I receive no compensation for using the parts and suppliers that I use, and that I have no relationship with them, other than being a customer. All prices paid are the same available to anyone else in the public.

Sunday Afternoon in the shop

My rifle Project- “Kyle” is currently at a standstill.

The upper is mostly done. The barrel is installed in a slick side upper, as is is the gas system and forend. The rest of the upper is on hold because JP rifles is out of LMOS enhanced bolts. Mine has been on backorder for several weeks. I know there are other LMOS BCG’s out there, but I have good luck with JP rifles, so we will just shelve the upper for a bit. Once that BCG arrives, I will install it, the dust cover, then check the headspace and call the upper complete.

I am not going to even start machining the lower yet. That is because I am waiting for a Larue trigger. The machine work only takes about an hour, so until the trigger arrives, there is no point in continuing. If I get impatient, I will just get a Geisselle SSA and complete the project. The Geisselle is a better trigger, but I am trying to hold costs down a bit.

Still, I had some time to play in the shop, so I went ahead and completed the lower for Project Gaston. This is my first 80% pistol build. I decided to go with a polymer 80, so I wound up selecting the GST-9 from 80 percent Arms. Here is an overview:

https://www.youtube.com/watch?v=r80Ggw4BlfM

The next post will detail what I did to complete this pistol. I will say that I hit a couple of snags, but a bit of ingenuity enabled be to overcome them pretty easily. More on that later.

No One Shoots Like Gaston

So now that I am in the middle of building “Kyle,” I am planning my next build: “Gaston.” It should take me a couple of weeks to finish Kyle, counting parts delivery, assembly, and the holidays interfering. My object with Kyle is an accurate, lightweight AR pattern rifle in 5.56 that has no identifying marks on it, no engraving. Just a sterile, all around defense rifle.

Once Kyle is complete, I will start getting parts together for Gaston.

Gaston will, of course, be a Glock compatible handgun. I am patterning it after a Glock 19, using an 80 percent lower. Cost: $150

I have selected a Gen 3 slide with RMR cut from ninex19. The slide costs about $325. I won’t be mounting an optic on it yet, but I want the option if I decide to do so later.

I am looking at using a Faxon barrel again. (Can you tell that I really like their barrels? I use them almost exclusively) The one I am looking at is extended and threaded for a suppressor. I am really considering Chameleon PVD like this one. It costs $210.

I want something that will not only be high quality, but will look sharp. I will finish it off with the internals and a set of night sights. My budget for this build is $850. I know that this is more than an off the shelf Glock 19, but one of the advantages of building your own is not just privacy, but getting a handgun that is higher quality and better looking than a factory made one. If I was looking at making a stock 19 knockoff, I could do it for less than $550. I want something unique.

Found

Disregard my request for barrel recommendations. I found a Faxon barrel over at Joe Bob Outfitters*. They seem to have stuff when no one else does. They had magazines for my Shield Plus when those magazines were as rare as a Bigfoot sighting, and they don’t make their stuff outrageously expensive while trying to convince people that their prices are lower than dirt.

So with this purchase, I begin yet another build. Meh, it gives me something to do on my days off.

Here are the specs:

  • 5.56mm
  • 18 inch
  • 1:8 twist
  • GUNNER profile (Government to the gas block, pencil from there to the muzzle)
  • Rifle length gas block, 0.625″
  • 1.44 pounds

Remember my post on the meaning of twist rate. Since most of my ammo is either 55 or 62 grain, my builds have been in the 1:8 version. I like the heavier bullets, as they are more stable at longer ranges.

I’m having fun building these rifles, and I think that I am getting quite good at it. The wife doesn’t even shake her head anymore when another rifle shows up in the gun safe. I may have to sell a couple of my serialized ARs to make room.

To track my expenses, I’m going to start naming my builds. I thought about numbering them, but that would allow someone to track how many I am building. That is no one’s business, unless I sell any of them. So, with that in mind, the name of this build will be the “Kyle.”

* I have no relationship whatsoever with Joe Bob Outfitters, other than being a customer. Their prices are pretty low, and they seem to have things that other dealers are out of stock on.